Boss order and what to bring
The major fights appear in a fixed order as the story moves from Ivan's apartment to the Film School and finally the Desiderium. Each one teaches a rule rather than testing raw reflexes. Saving before every arena is the single most useful habit, because several attacks kill Julia in one hit.
| Boss | Where | Key rule | Bring |
|---|---|---|---|
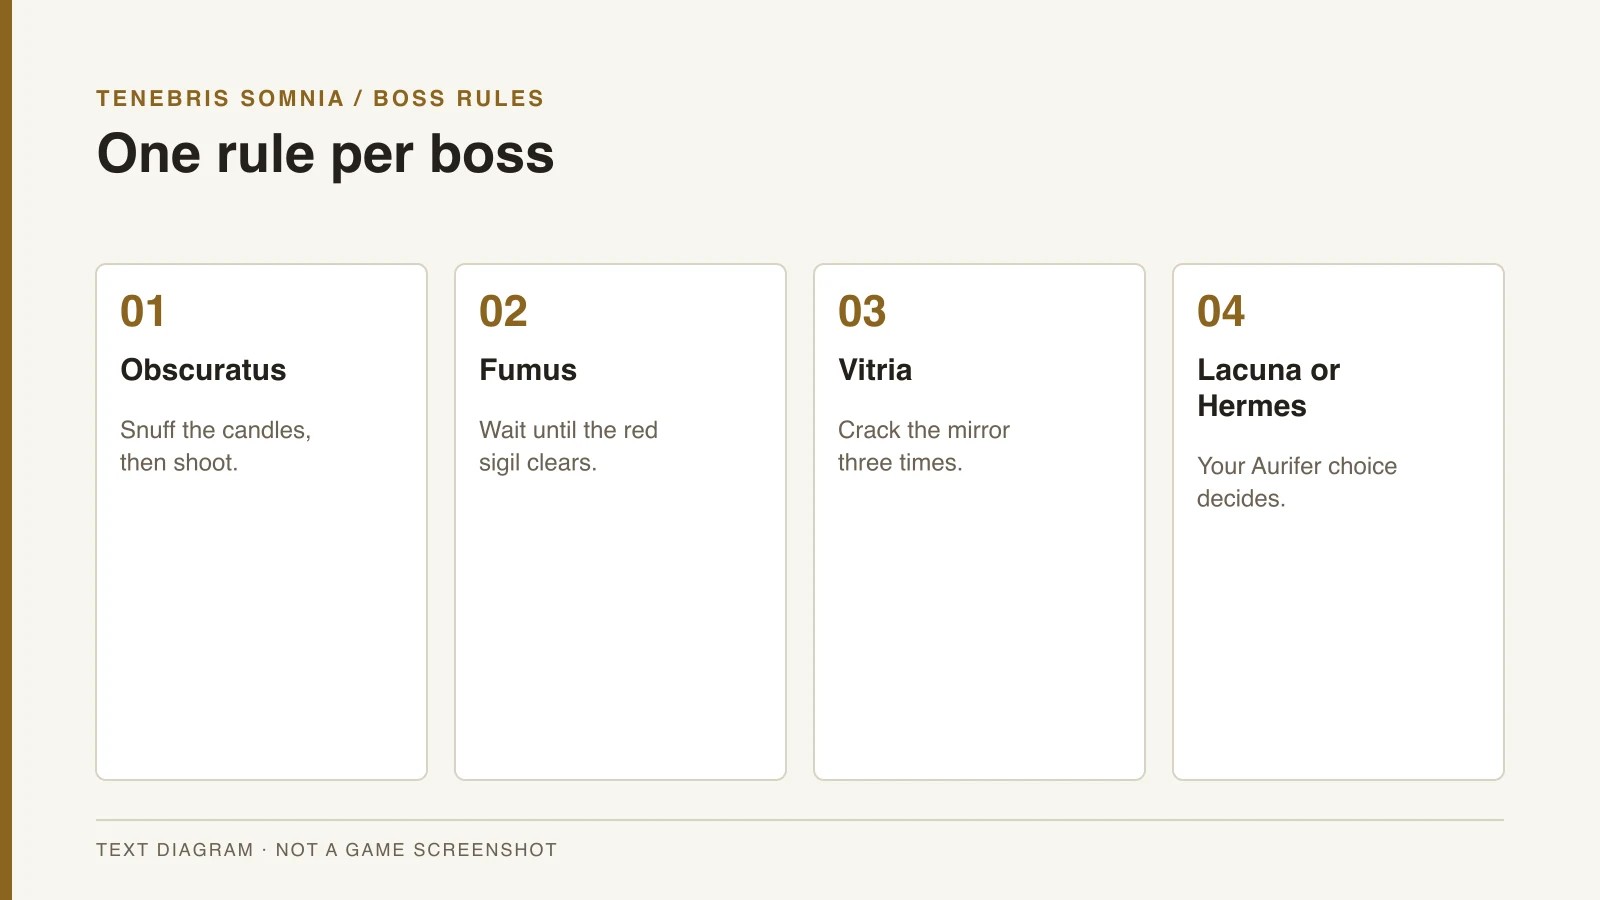
| Obscuratus (candle boss) | Candle area beyond the Floor 2 window | Snuff the candles to reveal it | Revolver |
| Fumus | Upper Floor 1 stairwell, behind the hook door | Wait out the red sigil | Shotgun |
| Vitria | Behind the curtains past the Film School locked door | Crack the mirror in three cycles | Pipe and Revolver |
| Sanguis chase | Escape hallway after the ritual | Bait him onto the knife | Nothing; run |
| Carnito | Desiderium, before the Tin Key | Final encounter with a recurring enemy | Full ammo |
| Lacuna | Septimo Arte building, good route | No Aurifer; use guns | Shotgun and Revolver |
| Hermes | Septimo Arte building, bad route | Break hands, then hit the face | Aurifer Knife |
Obscuratus, the candle boss
Pull the Mop Handle lever by the candle-area window to close the blinds and start the fight. The arena goes dark, a red circle forms under the boss and the candles light up as it turns invisible. It can still hit you while unseen, so keep moving.
Snuff every lit candle while dodging its attacks. Once the last flame goes out, the boss becomes visible and vulnerable to the Revolver. Repeat the cycle until it falls, and save first because a death sends you back to the window.
This is the fight that teaches the game's boss logic. The arena itself holds the answer, and attacking blindly only wastes ammunition. Expect the same idea of reading the room first to return in every later encounter.
Fumus
Fumus waits behind the hook door on the upper Floor 1 stairwell, opened with the Cow Skull. Unlike the candle boss, it swipes with long-range hands. A red sigil under it makes it invulnerable, so hold your fire until the sigil clears.
Damaging puddles spread across the floor and multiply as the fight goes on. Stay in open space and never let yourself be cornered against a wall. GGGWiki adds that unequipping all weapons and running into the red circles makes them vanish, which is worth trying if they keep catching you.
Into Indie Games recommends the Shotgun for this fight. When Fumus dies, interact with its remains for the red Pentacle Stone. That stone opens the red sigil door in the Film History area and Ivan's bathroom on Floor 3.
Vitria
In phase one, Vitria fires a single tentacle, charges a vertical strike and launches four diagonal tentacles. Stand close to bait the vertical strike, step back as it lands and hit her with the Pipe. Twelve hits move the fight into phase two.
In phase two she appears in a mirror and cannot be hit directly. Strike the tentacle that rises from below by watching its reflection, then use the Revolver on the mirror while she is stunned. If her tentacle grabs Julia by the throat, mash the interact button to break free before the instant kill.
Phase three pulls you into the mirror dimension, where your controls are reversed. Run around the arena, strike the tentacles until you are sent back out, and repeat twice more to shatter the mirror. Dying here restarts you at the start of phase three rather than the whole fight.
The Sanguis chase and Carnito
After the ritual, Sanguis turns on Julia in a beast form and the game becomes a chase. Run east, dodge his lunges and bait him into breaking the mannequins that block the way, since red mannequins cannot be broken. Near the end, time his pounce so he lands on the retracting knife blade.
Carnito is the last fight before the Tin Key section of the Desiderium. The guides describe it as the final encounter with that creature but do not publish a phase breakdown. Arrive with full health and ammunition, and save at the closest point so a loss costs as little as possible.
The sulfur statues are smaller arena encounters where enemies swarm a statue. Run to the glowing studio lights and attack from there to clear everything on screen. The Vorax that ambushes you in the TV room is a regular enemy, not a boss, but it hits hard.
Final bosses: Lacuna and Hermes
Which final boss you meet depends on the Aurifer choice explained in the all endings guide. Lacuna guards the good ending and Hermes guards the bad one. Both fights take place in the Septimo Arte building.
Lacuna is fought without the Aurifer, so rely on the Shotgun and Revolver. She swipes with tendrils, vanishes and slams down, and spits fly swarms, then adds Julia clones, damaging trails and a fly beam in phase two. Keep moving whenever she disappears, because the slam can kill instantly.
Hermes raises giant hands from runic symbols, first one at a time and then two or three together. In phase two a giant face emerges and inhales, and getting too close forces a restart. Attack after the inhale, avoid the red liquid, kill the summoned minions and finish Hermes with the Aurifer.
Weapons that matter in boss fights
The release build gives Julia a small arsenal that grows as the story moves on. The Wrench is the first melee weapon, the Revolver turns up in a chest in the Floor 2 Study, and the guides recommend the Shotgun by the time you reach Fumus. A Pipe handles the close-range work in the Vitria fight.
| Weapon | Best boss use | Source note |
|---|---|---|
| Wrench | Early enemies and puzzle objects | First melee weapon in Ivan's apartment |
| Revolver | Obscuratus, cracking Vitria's mirror | Found with ammo in the Floor 2 Study chest |
| Shotgun | Fumus and Lacuna | Recommended by Into Indie Games |
| Pipe | Vitria phase one | Twelve hits trigger phase two |
| Aurifer Knife | Hermes | Also decides the ending if used on a ghost |
Ammunition is limited, so the melee weapons do most of the work against regular enemies. Save your shells for fights where the guides recommend ranged damage. The Aurifer is the exception, because it is both the strongest answer to Hermes and the trigger for the bad ending.
Movement matters as much as weapon choice. Shacknews describes Julia's default speed as too slow and her weapons as slow to ready. Start moving before an attack lands rather than reacting to it, and line up shots from a distance where you still have room to step away.
General boss tips
Reviewers agree that combat is the weakest part of the game. Shacknews calls it cumbersome, and Bloody Disgusting suggests a lower difficulty mode would help. Treat every boss as a pattern to learn rather than a test of aim.
- Save before every arena, since one-hit kills can erase long stretches of progress.
- Hoard Shotgun shells for Fumus and Lacuna.
- Watch the floor for sigils, puddles and trails before attacking.
- Read the combat guide for weapon basics before the first fight.
- Learn one phase at a time, and note which attacks can kill instantly before you commit to damage.
If a fight keeps going wrong, step back and look at the arena before your next attempt. Most bosses telegraph their weak moment through the environment, whether that is a candle, a sigil, a reflection or an inhale. The walkthrough shows where each arena sits, so you can check the nearest Save Point before going in.
Frequently asked questions
- Who is the final boss in Tenebris Somnia?
- It depends on your ending route. Lacuna is the final boss of the good ending, and Hermes is the final boss of the bad ending.
- How do you beat the candle boss?
- Snuff all the lit candles to make Obscuratus visible, then shoot it with the Revolver and repeat.
- Why can't I damage Fumus?
- Fumus is immune while a red sigil sits under it. Wait for the sigil to clear before attacking.